14 Apr 2026
We've been spending time testing and working with the new Webflow Designer MCP - building pages, running conversions, and generally pushing it to see where it holds up and where it breaks. The short version: genuinely excited about this release. It sped up our workflow significantly and opens up workflows that weren't possible before.
This post isn't a hype piece. The Designer MCP has real limitations, some of which cost us significant time to discover. We're documenting both sides honestly - what works well, what the MCP simply cannot do, and the specific practices that made the biggest difference.
The Designer MCP is the most exciting Webflow development in a while. It's also early enough that going in without knowing the limitations is how you waste a day rebuilding what you thought was already done.
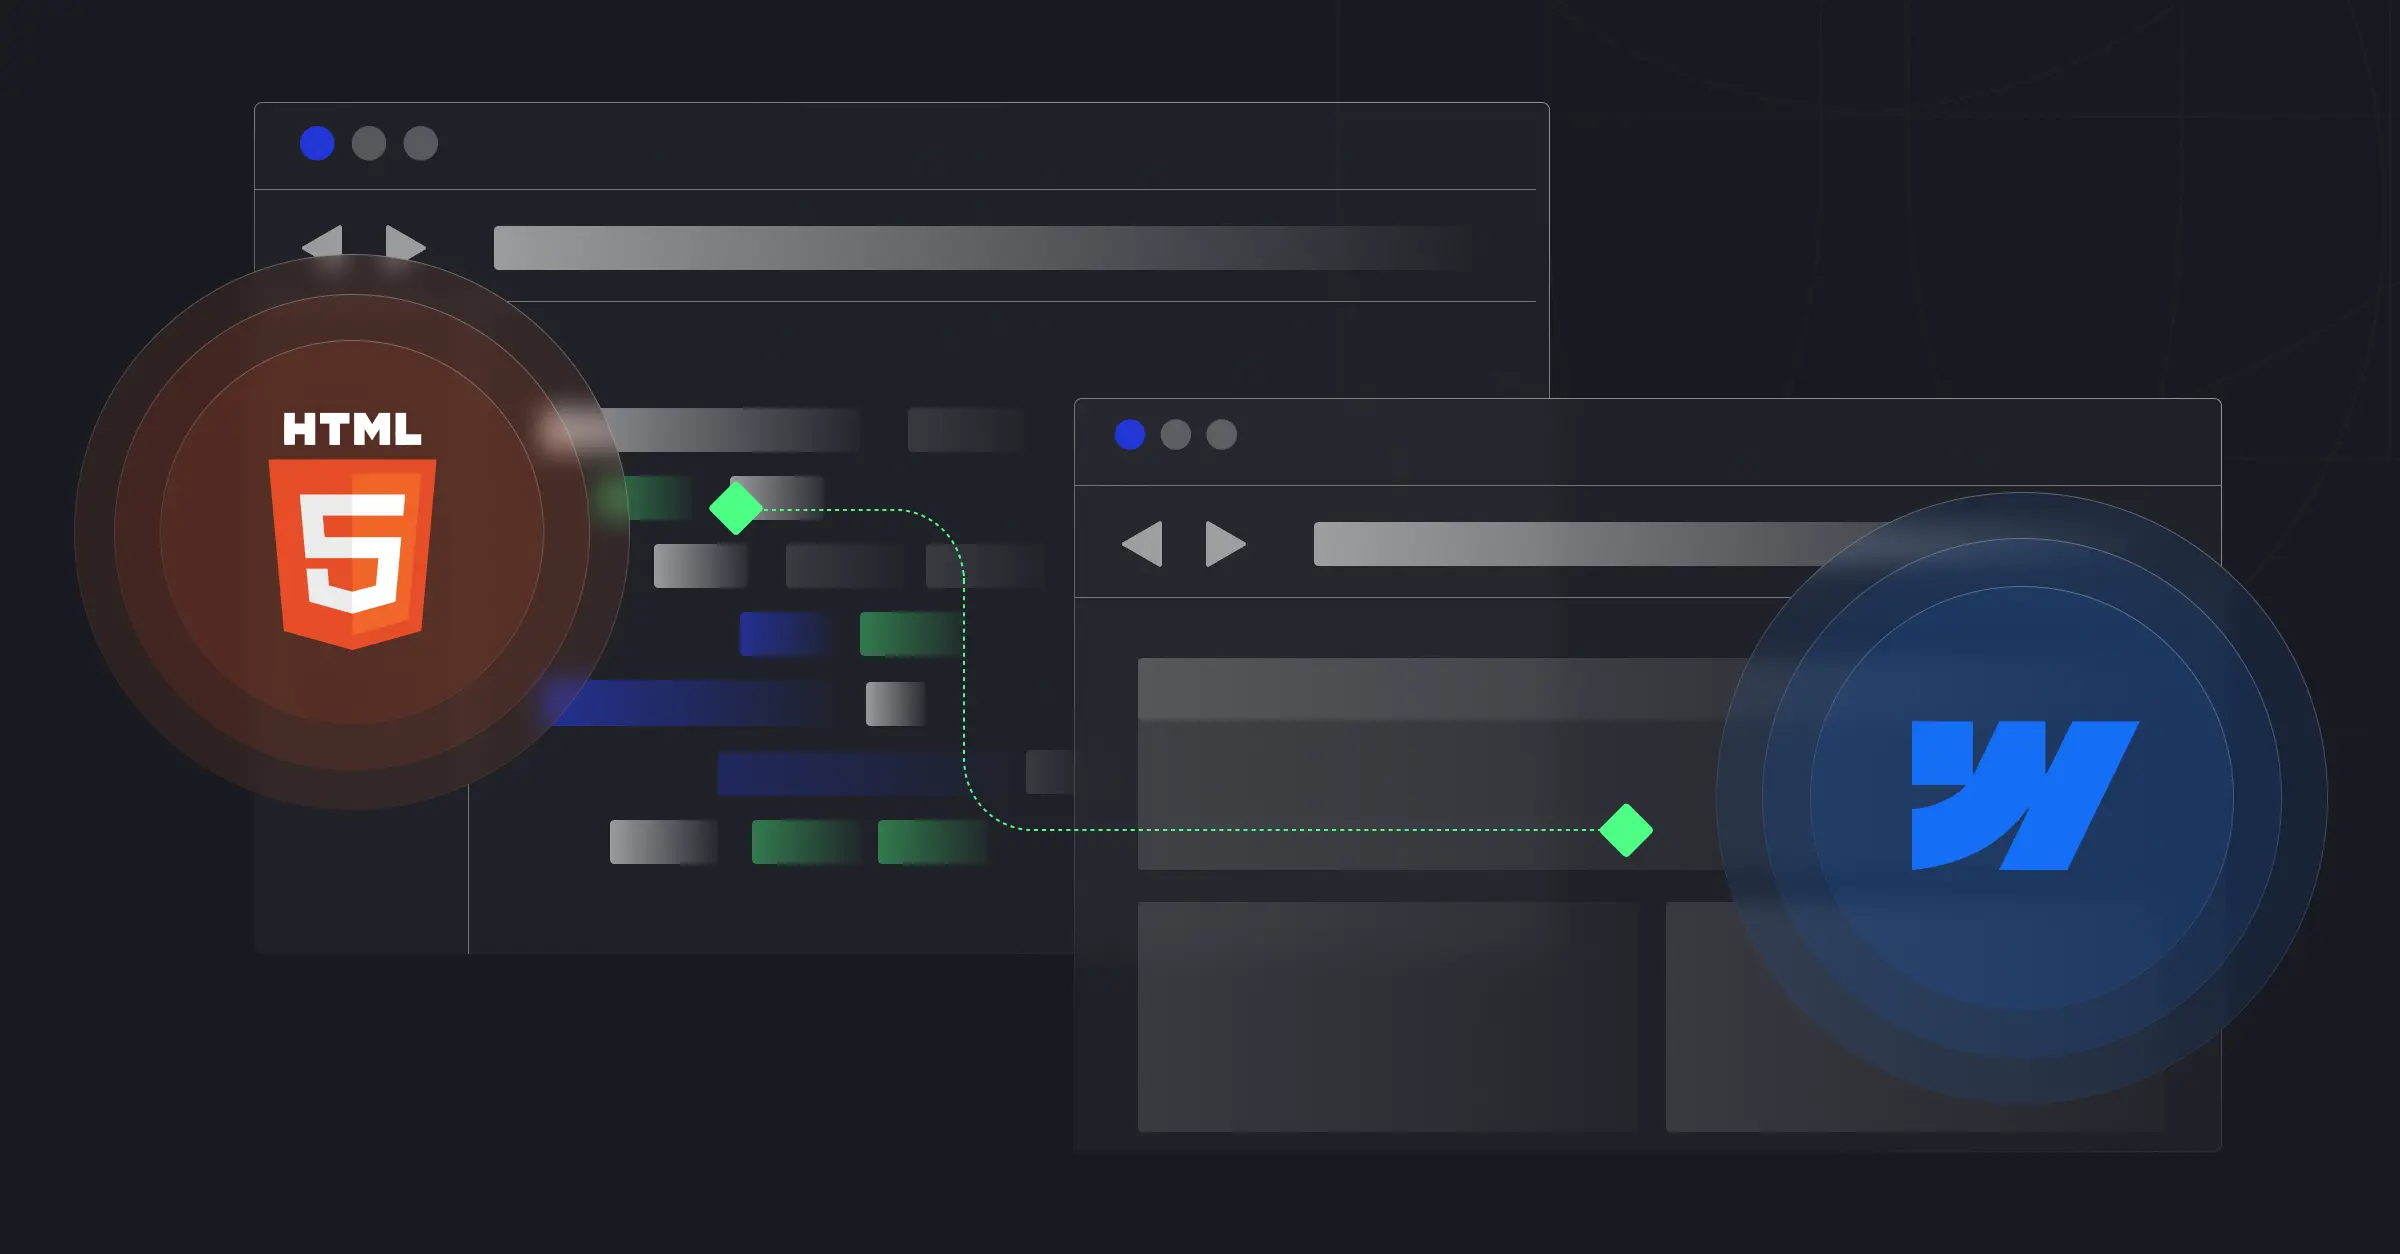
There are two Webflow MCP integrations - don't confuse them. The Data MCP handles CMS collections, publishing, and site settings via the API. The Designer MCP is different: it connects Claude directly to the Webflow Designer canvas, letting it read the page structure, insert HTML, apply classes, create styles, and manipulate elements in real time.
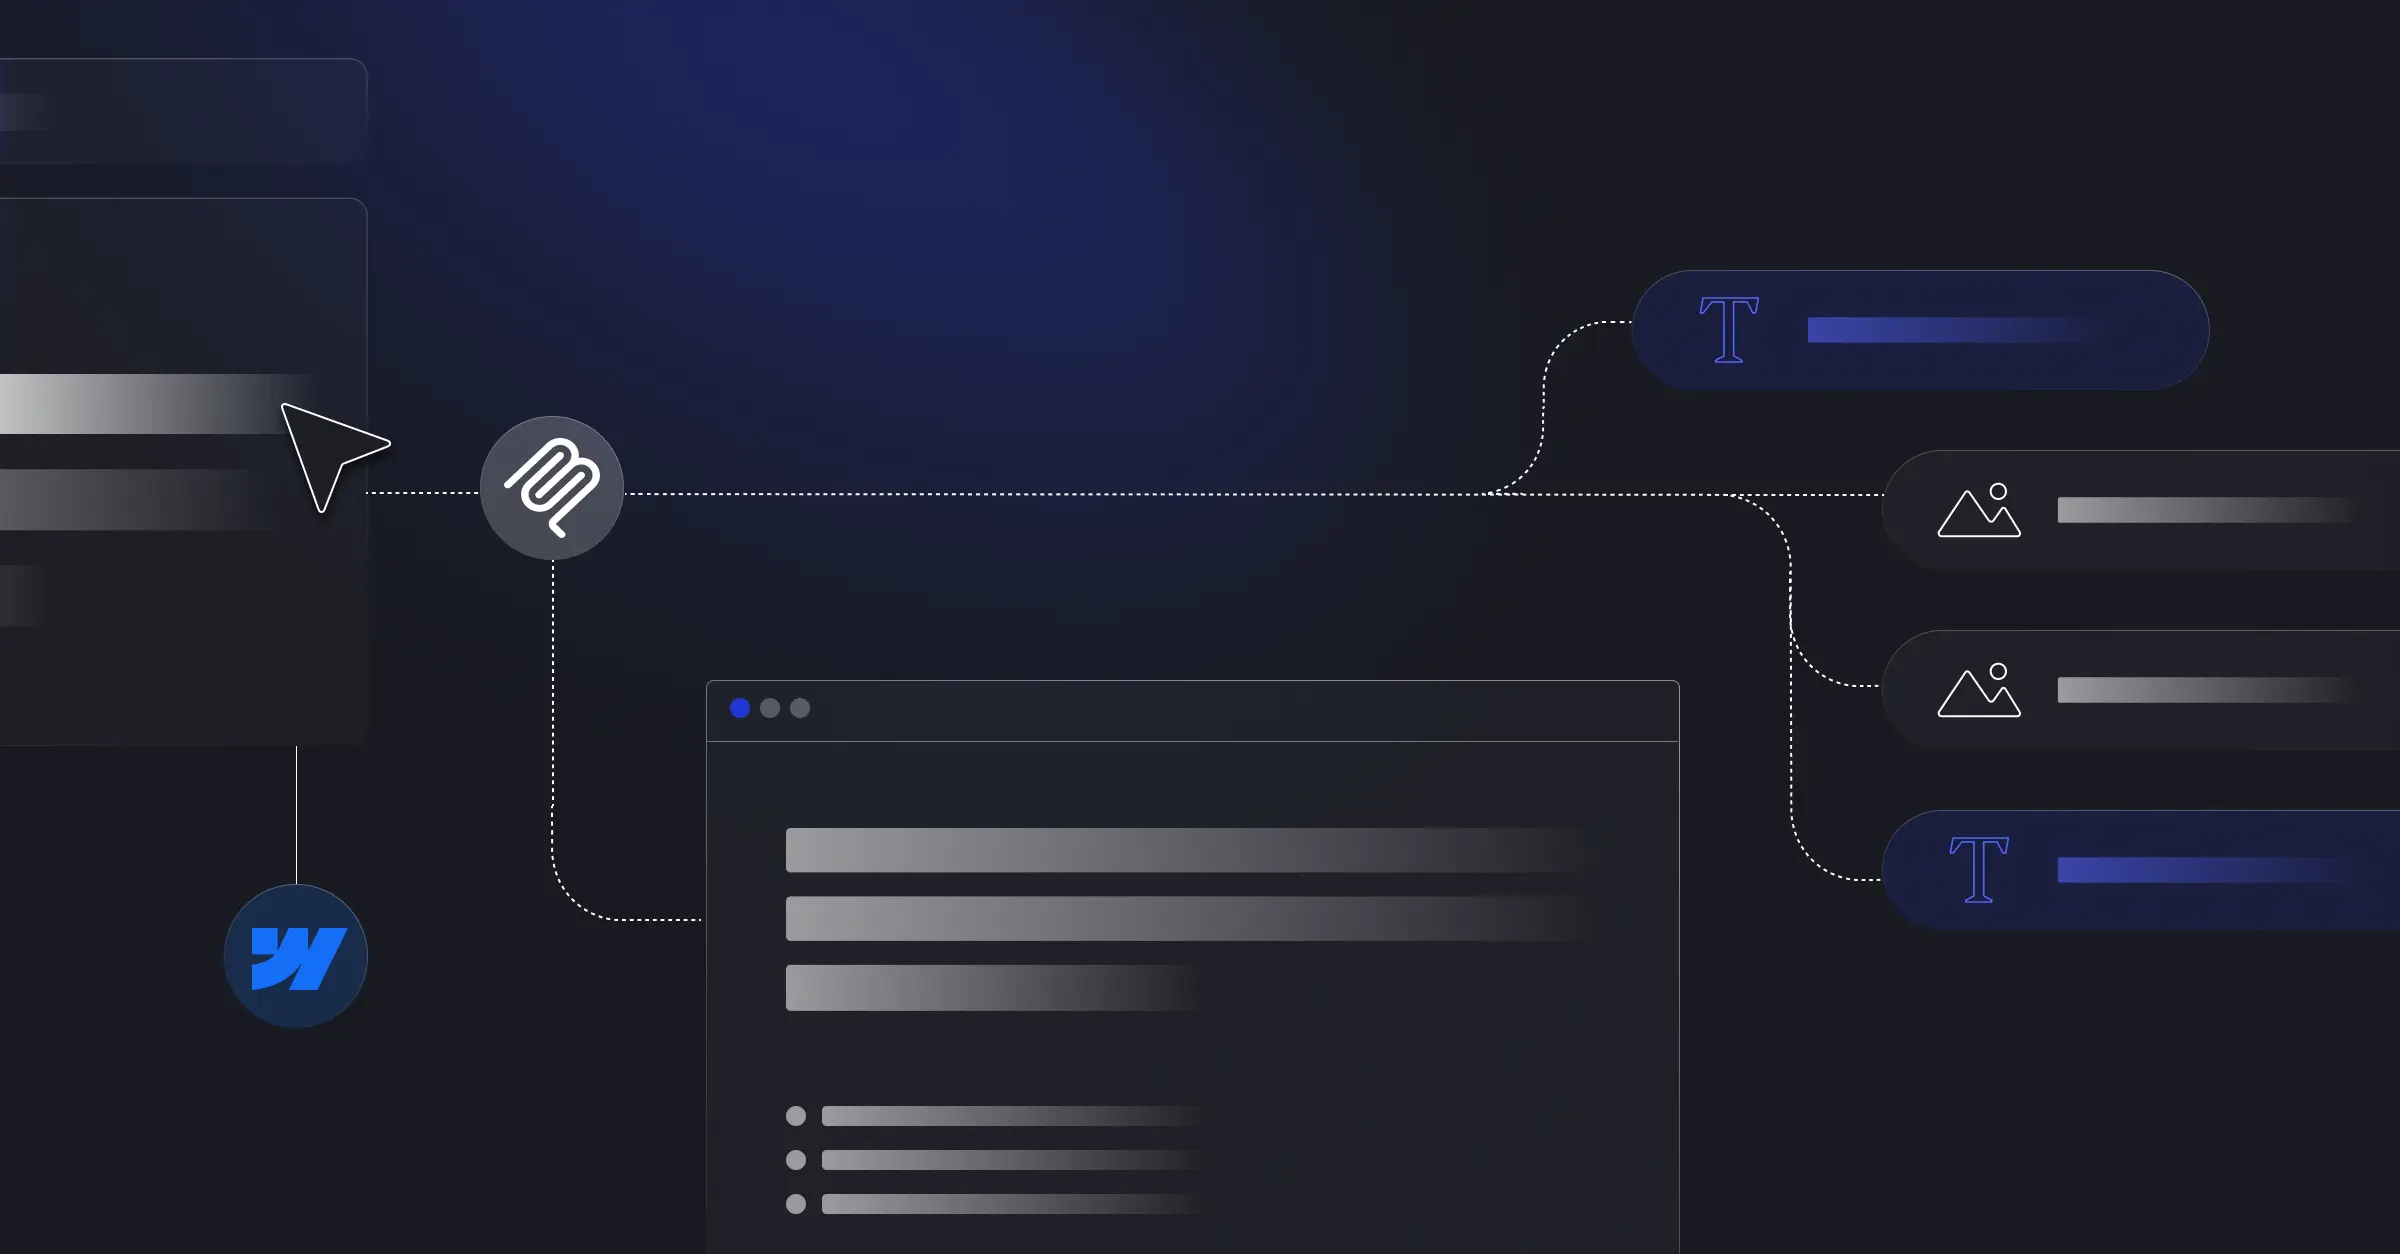
The use case that unlocks the most value: take any HTML output - from a vibe coding tool like v0 or Bolt, from a Claude artifact, or from any other source - and let Claude translate it into real Webflow elements with proper classes, responsive styles, and a structure that lives inside your design system. No embed blocks, no locked code. Real elements on the canvas.
Ask it to search all available components and styles when a page looks wrong. When a section isn't rendering correctly, having Claude search your full component and style library often surfaces an existing class that maps perfectly - rather than creating a redundant new one. This was consistently the most useful recovery move when output drifted from the existing design system.
Use Playwright constantly for verification. The MCP can make changes without visual feedback unless you build verification in. Having Claude use Playwright to screenshot what it changed after every major action catches mismatches and ordering issues before they compound. Don't skip this step.
Install the official Webflow Skills. Webflow has published official skill files for Claude that define the correct patterns for working with the Designer MCP. These significantly improve output quality and reduce hallucinated approaches to element manipulation.
Handle images separately - the right way. Image uploading via the MCP isn't straightforward. The workflow that actually works: ask Claude Code to collect all required images into a single folder, upload them manually to Webflow Assets, then tell Claude they're uploaded. It finds all the references and swaps them correctly. Don't try to automate the upload step.
Use the back-and-forth comparison approach. When migrating or converting an existing site, having Claude navigate between the source site and the new Webflow site to catch missed elements is extremely effective. Frame it as an audit task: "compare these two pages and identify anything on the source site that hasn't been implemented in Webflow." It catches things you'd miss manually.
These are hard limitations. No workaround exists via the API - you'll need to do these manually in the Designer.
| Limitation | Impact | Workaround used |
|---|---|---|
| Delete elements | No remove action exists in the API | Hide with display:none - leaves dead HTML in the page |
| Move or reorder elements | Can't reposition within a parent | Hide the misplaced element and rebuild in the correct location |
| Swap images on existing elements | Alt text comes from the asset, new uploads aren't straightforward | Manual upload + reassignment in Designer |
| Edit NavbarBrand links | NavbarBrand elements don't support set_link | Manual edit in Designer |
| Insert between specific siblings | Only append or prepend to a parent - no "insert after element X" | Prepend then hide original; rebuild in sequence manually |
| Create elements inside components | Can't prepend or append to component instances (Navbar, Footer, CTA) | Component edits must be done in the Designer |
Combo class gotcha. Applying a combo class alone does nothing if it's applied without a base class. We wasted a round-trip discovering this. The fix: create a new base-level class with the property you need (e.g. display:none) rather than relying on combo class inheritance.
Designer MCP disconnects frequently. If the Webflow Designer tab is not actively in the foreground, the MCP connection drops. This happened repeatedly during longer sessions. The fix is simple but annoying: keep the Designer tab visible and active, or expect to relaunch the connection multiple times.
Aggressive rate limiting on publish. The publish endpoint rate-limits after a single call, requiring 90+ second waits between publishes. For iterative work where you're publishing frequently to check live output, this adds up. Build publish checkpoints into your workflow rather than publishing after every small change.
Element builder depth limit. The element builder only supports 3 levels of nesting per call. Complex nested structures require multiple API calls. Account for this in how you structure build instructions.
Going in with realistic expectations means knowing upfront what the MCP won't be able to finish:
The MCP handles the volume work that would otherwise take days. The Designer handles the precision work the API can't reach. The projects that go well are the ones where you've mapped which is which before you start.
This is the most useful Webflow tooling release we've worked with. Pages and sections that used to require a developer spending hours inside the Designer can now be largely handled by Claude Code working autonomously - building out structure, applying classes, verifying output visually, and catching discrepancies as it goes.
The limitations are real and specific enough that this post exists. But the ceiling on what's possible keeps rising. Install the official Webflow Skills, use Playwright for verification, keep your Designer tab in the foreground, and go in knowing what you'll finish manually. The time savings are significant enough that the workarounds are worth it.
There are two separate Webflow MCP integrations. The Data MCP handles CMS collections, site publishing, and settings via the API - it doesn't touch the visual canvas. The Designer MCP connects Claude directly to the Webflow Designer, letting it read the page structure, insert HTML, apply classes, create styles, and manipulate elements in real time. For page-building and migration work, the Designer MCP is the relevant one.
Six things are genuinely impossible via the current API: deleting elements (use display:none instead), moving or reordering elements within a parent, swapping images on existing elements, editing NavbarBrand links, inserting elements between specific siblings (only append or prepend to a parent is supported), and creating elements inside component instances like Navbar or Footer. All of these require manual work in the Webflow Designer.
The Designer MCP connection drops when the Webflow Designer tab is not actively in the foreground. This is a known limitation - the MCP requires the tab to be visible and active to maintain the session. Keep the Designer tab in the foreground during active work, or expect to relaunch the connection multiple times in longer sessions.
Image uploading via the API isn't straightforward. The workflow that reliably works: ask Claude to collect all required images into a single local folder, upload them manually to Webflow Assets, then tell Claude they're uploaded. It identifies all the image references across the page and swaps them correctly. Don't try to automate the upload step - handle it manually then hand back to Claude.
Webflow has published official Claude Skill files that define the correct patterns for working with the Designer MCP - element structure, class conventions, component handling, and known limitations. Installing these significantly improves Claude's output quality and reduces time lost to hallucinated approaches or undocumented API behaviors. They're the single highest-leverage setup step before starting any Designer MCP project.
Use Playwright after every significant change to screenshot and verify what was actually built. Without visual verification, the MCP can make changes that look correct in the API response but aren't visually right - elements in the wrong order, styles not applied, sections misplaced. Building Playwright verification checkpoints into the workflow is what catches these issues before they compound into larger rebuilds.
Norta works with a small number of startups to ensure focus, quality, and true partnership.
Limited spots available